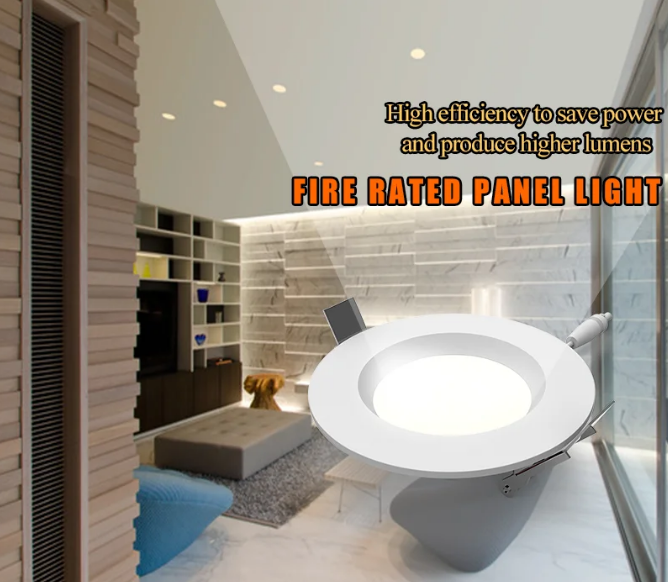
The following are the installation steps of a simple fire panel light:
1.Before we install, check whether the power supply of the panel is cut off.Second, we must determine the size of the cutting hole and find the installation position of the top hole.
2.The next step is to open the cover of the junction box and remove the corresponding fixtures from the side panels.
3.Thread the power supply and cable through the bracket and secure the cable in the connector.
4.Push the cable into the terminal and connect the cable of the corresponding color to the terminal of the corresponding color.
5.Put all wiring accessories into the box and close the lid.
6.Then connect the drive to the fire panel.
7.Select the color temperature you want and flip the switch to the corresponding color temperature position.
8.Push the spring clamp in the jig up, and then put the base of the jig into the mounting hole, and then release the clamp, and the jig is pulled up to the ceiling.
9.Finally, connect the power supply and the installation is complete!

Ultra-thin fire panel lights: The installation steps are extremely simple, and the lightweight housing has excellent thermal conductivity to ensure lasting use.
